Posted by Paradox on 7th Jan 2022
Helix Piercing
Helix piercings: Everything you need to know about the biggest piercing jewellery trend
Unless you’ve been living under a rock, there’s no doubt you would have heard about the fast-growing trend of a particular ear-piercing called the ‘helix piercing’.
First popularized in the 1990s, helix piercings have certainly made their comeback over the past decade, and in many ways, getting a helix piercing has become a rite of passage for teenagers and adults alike.
For many people that already have their ear lobes pierced, the helix is the obvious next step, and is a great introduction to cartilage piercings in general. Nowadays, a helix piercing is just as classic and desirable as a piercing in the lobe, if not more!
What is a Helix piercing?
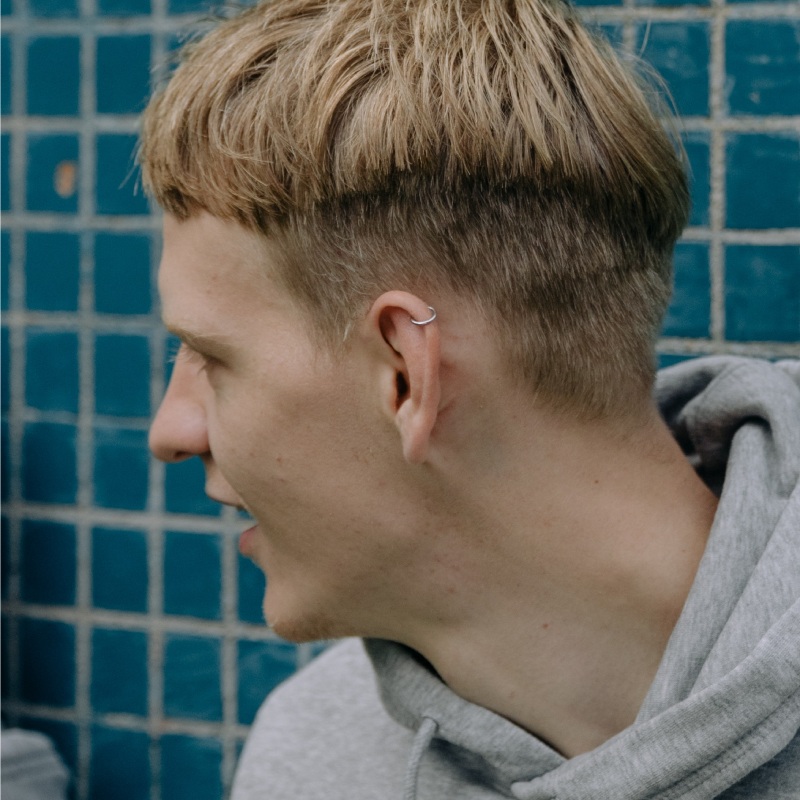
You’ve probably seen a helix piercing around. Whether it's a dainty detail or a bold statement, you’ll find it perched somewhere on the upper ear cartilage. The versatile area allows for both studs and rings to be worn - so it's a great choice of piercing if you want the option to easily switch up your look. For the more daring among us, you may choose to have multiple piercings tiered together (a double, triple or even quadruple helix) on the same ear - did someone say edgy?
The two most common areas for helix piercings are the outer helix and the forward helix - so whether you’re piercing the top end, the midpoint, or somewhere in between - you’ll still be a part of the helix-adorned club.
Find out everything you need to know about helix piercings below.
Is a Helix piercing the same thing as a cartilage piercing?
You’ve probably seen piercings placed in slightly different locations along the top rim of the ear and wondered if they’re all the helix… the answer is yes!
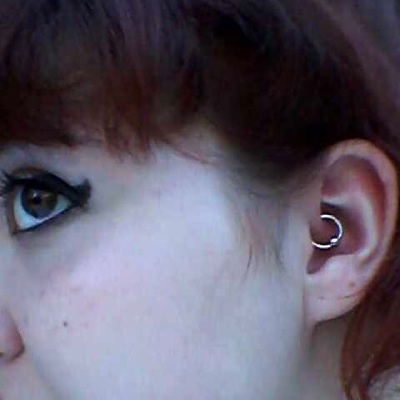
Many people use the terms ‘helix’ and ‘cartilage’ interchangeably; this is not technically incorrect; however it is worth knowing that the helix piercing is one of many different cartilage piercings. The upper, inner, and outer ear is all made up of cartilage, and so holds other examples of piercings beside the Helix - including rook, conch, tragus and daith piercings.
Outer and forward helix piercing
You’ll have read earlier that there are multiple types of helix ear piercings - you’ve got the outer helix piercing and the forward helix piercing.
But what’s the difference between the two?
The outer helix piercing usually refers to the standard placement through the helix, from above the earlobe, anywhere along the outer rim up to the top of the ear.

The forward helix refers to a piercing through the helix fold toward the front of the ear, above the tragus, where the helix attaches to the face.

Outer and forward helix piercings are an eye-catching and increasingly popular piercing. Some people choose to have double or even triple helix piercings to create a totally unique ‘stacked’ jewellery look.
Both outer and forward helix piercings are relatively low maintenance after the initial healing period has passed, so if you want a piercing that looks good and you can almost forget you have it, the helix is the one for you!
Let’s talk about the pain index…
Let’s be honest - one of the main things at the forefront of your mind when it comes to getting a new piercing is how much it's going to hurt.
Well, on a scale from 0 (being fluffy unicorns) to 10 (standing barefoot on Lego), the pain of a helix piercing is reported to be around a 4 and is often rated less painful than other cartilage piercings – so not too bad! The helix piercing as we've covered is located on the outer curve of the ear, which does not have as many nerve endings. However, cartilage is tough tissue that can sometimes be very thick, so you should expect some discomfort. People also have different pain tolerances and so this will be slightly different for everyone.
Regardless, let's not forget - pain is temporary, but your gorgeous new piercing is forever!
The healing process:
The initial healing time for a helix piercing is around two to four months, and around 6 to 12 months for it to be fully healed. This is not to say that you will be uncomfortable for a whole year, it just means that you need to be patient with it.
In the first two-four months you will experience the majority of swelling, discharge, and discomfort, but you may find that up to about a year or so, if you are not eating or sleeping well, if you are under a lot of stress or if your hormones are playing up, then you may find that the piercing becomes swollen and uncomfortable, and begins producing discharge again. This is completely normal and is nothing to worry about, it just means that you should resume your aftercare routine and treat the piercing as if it’s fresh.
Of course, do bear in mind that just like pain tolerances, healing times will vary from person to person, depending on several genetic and lifestyle factors.
Keeping up with piercing aftercare including regular cleaning of the piercing area is extremely important in order to minimise healing time and avoid complications. Follow the tips below for a smooth healing process.
How do I take care of my helix piercing?
- Always make sure you wash your hands before touching your helix piercing area.
- Wash the piercing area regularly with fresh, warm salt water. The best way to make your salt water solution is to dissolve ¼ teaspoon of SEA SALT into a WHOLE MUG of boiled water, then use kitchen roll to soak the piercing. You can see our full aftercare instructions at https://www.metalfatigue.co.uk/info/piercing_aftercare
- Gently rotate the jewellery during your cleaning routine. You may try moving the jewellery from side to side in order to encourage any fluid build up to exit.
- Leave your starter jewellery in for a minimum of 6 to 8 weeks - new piercing areas will close up extremely quickly once the jewellery is removed. Trying to force the jewellery back in may cause serious discomfort and trauma to the area.
- Ensure to keep the area dry to prevent bacteria from growing.
- For extra comfort, if you tend to sleep on your side, try using a travel pillow or a donut pillow, and placing the ear in the middle to avoid prolonged pressure on your ears.
My helix piercing is swollen, should I be worried?
As your helix piercing heals, it may become swollen. This is because in the days and weeks following a cartilage piercing, your body’s natural reaction is to trigger inflammation to heal the wound, which in turn creates swelling, sometimes accompanied by bruising, mild throbbing and the ear feeling hot to the touch.
In some cases, helix piercings can develop ‘piercing bumps’; these bumps are often keloids, which sounds scary but is essentially just an overproduction of scar tissue in response to trauma. If you think you may have developed a keloid and aren’t sure what to do about it, please feel free get in touch with our professional piercing team for advice.
If you find your cartilage piercing is swollen, try these simple home remedies to treat it:
- If bleeding, apply light pressure to the helix piercing site using a clean, dry tissue.
- Apply a cold pack to help reduce swelling.
- Keep the helix ear piercing area free from hair and anything that could catch.
- Don’t touch! Playing with the piercing will only cause more irritation and can make the swelling worse, as well as risking introducing harmful bacteria into the wound.
How much does a helix piercing cost?
A helix piercing with Metal Fatigue, our piercing clinic in Bournemouth will cost £20 - £25 depending on the section of helix being pierced.
Standard placement helix piercings at Metal Fatigue are performed with 1.2 gauge Titanium Barbells with 3mm balls, or a Titanium Ball Closure Ring (BCR) if you’d prefer to go straight in with a hoop!
What’s the process?
Like most ear piercings, the helix ear piercing is done in a typical fashion. The first step is choosing the place and the jewellery. Once you’ve decided exactly where you want your piercing, the area will be cleaned to ensure that no surface bacteria could be pushed into the wound. Following this, a small mark will be dotted on the chosen area, and you can look to double-check you’re happy. When you’re ready, the piercer will then push a piercing needle straight through the marked location. The jewellery will then follow to finalize and seal the piercing, and ta-da! You have yourself a helix ear piercing.
Inspire Me!
Titanium Barbell with Smooth Glitzy Ball
Titanium Ball Closure Ring with Opalite Ball


